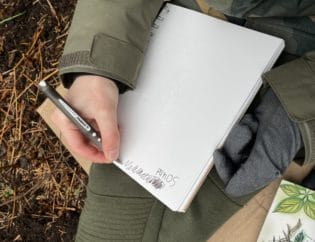
This fun and easy project is also an excellent way to spend some time outdoors in nature with children. They'll love searching for natural materials and then creating this beautiful holiday wreath.
If you've seen an abundant supply of dropped pinecones where you explore nature, this project may be just the thing for you. Making a pinecone wreath with your children encourages them to spend time outside while tuning into the changing natural environment in the autumn. Later, you can spend cozy time indoors as they help you make this beautiful holiday decoration. Here are the tips and steps to making your own pinecone wreath.
When to Collect Pinecones?
Pinecones mostly fall to the ground in autumn and can usually be found from September through to December.
Where to Collect Pinecones?
The best place to find pinecones is under pine or conifer trees in woods, parks, and gardens. When you see a pile of them under a tree, you know you're in the right place.
Is it OK to Collect Pinecones?
It's perfectly fine to take a few pine cones with you from the forest for personal use. Most forests do not require a permit for collecting a small number of pinecones but you should check ahead of time just in case.
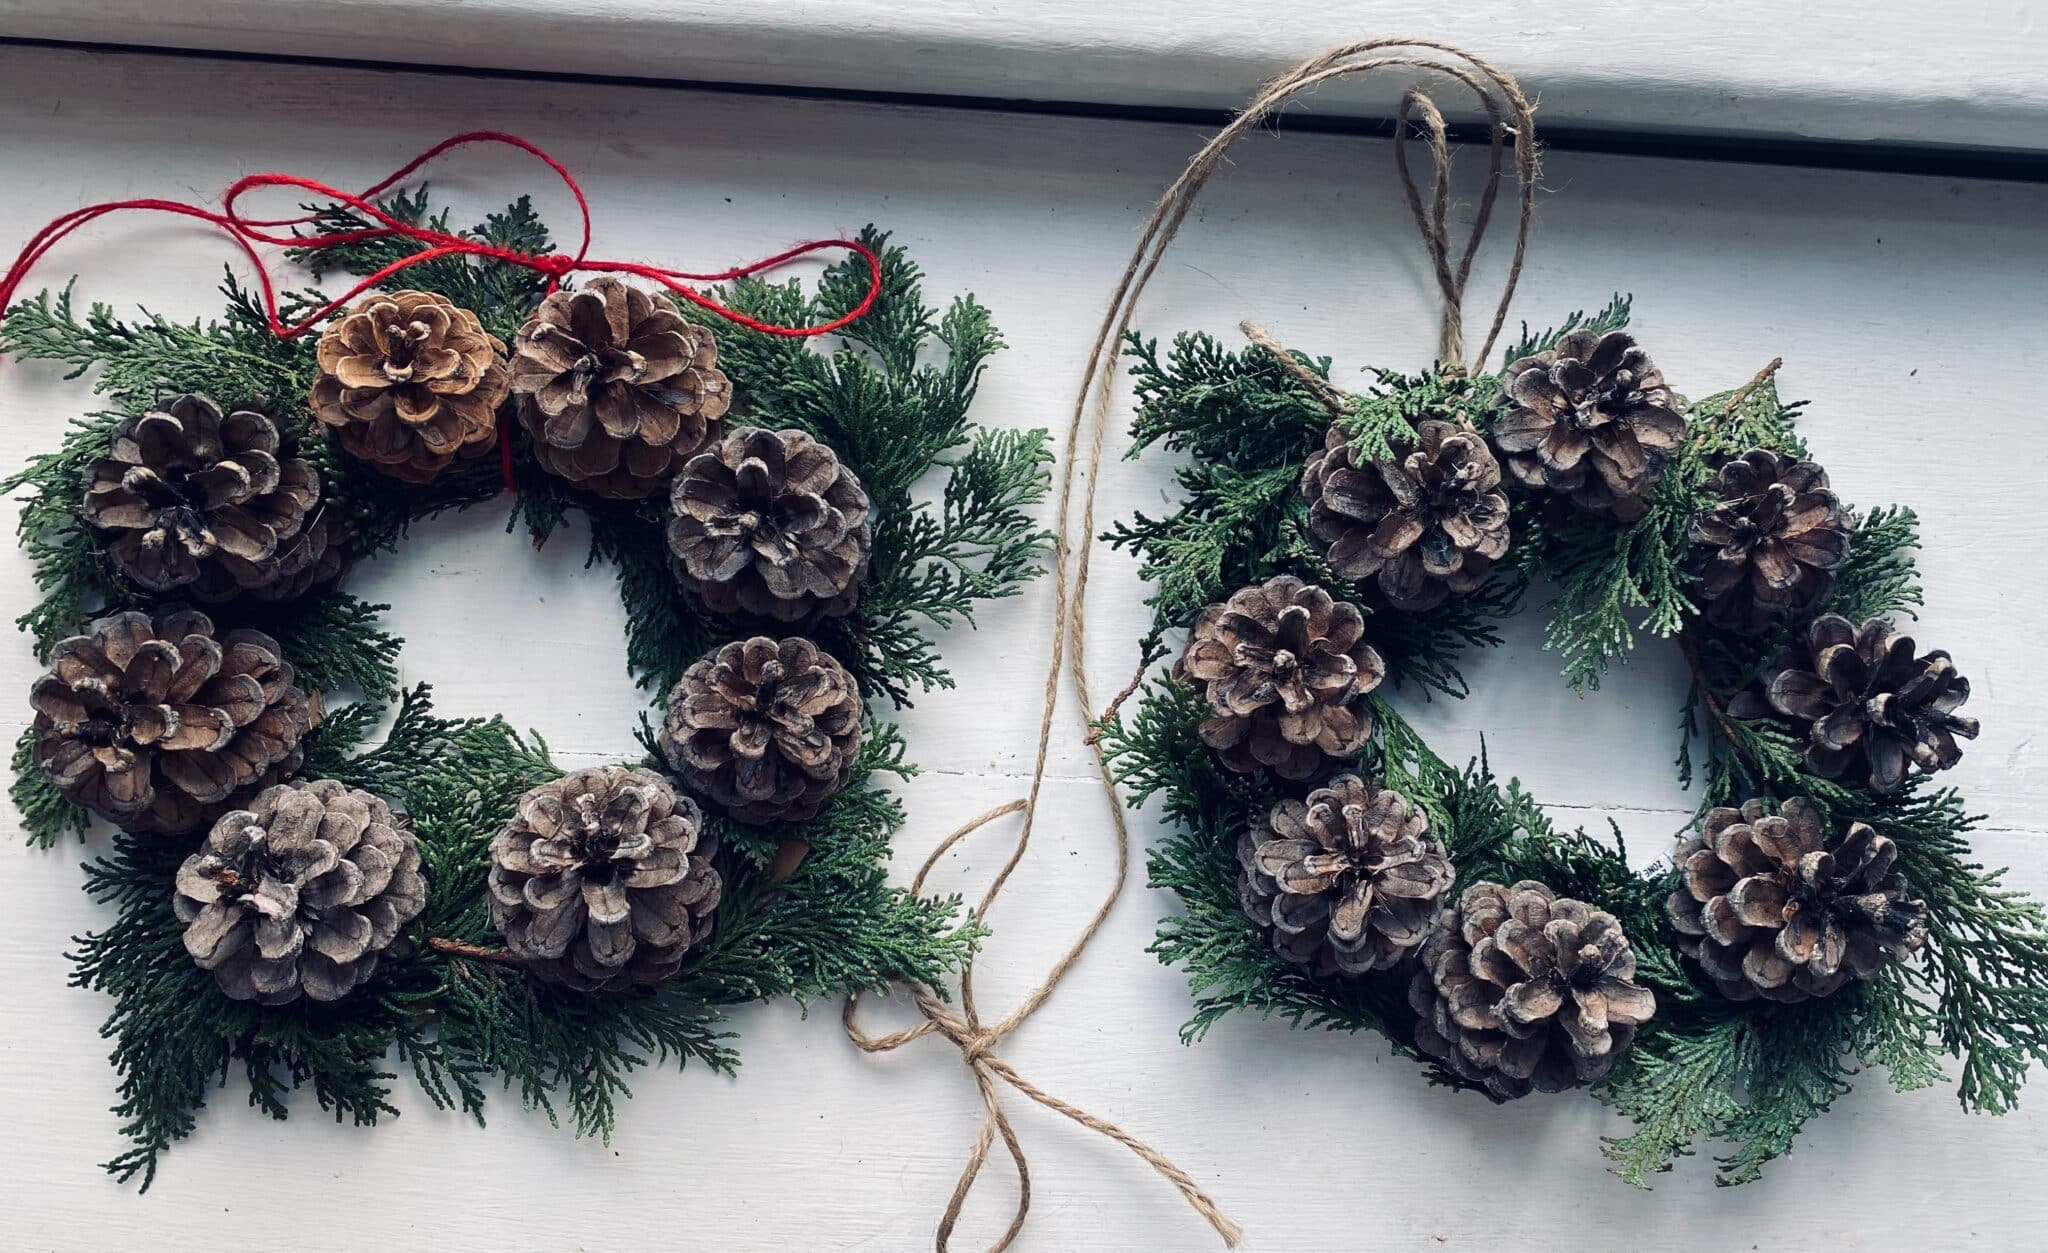
How to Make a Pinecone Wreath
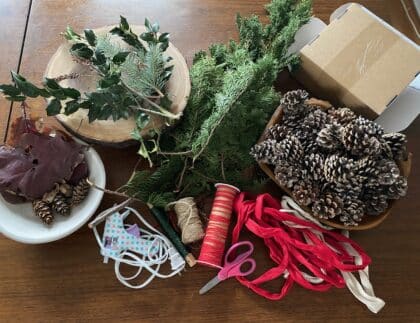
Step 1. Gather Materials
Materials:
- Pinecones
- Natural materials
- Evergreen trimmings
- Glue gun
- Cardboard
- Ribbon, twine
- Scissors
Now that you know where and when to get your pinecones, it's time to head outside. Bring a bag or other container with you. Ask your child to gather about two dozen pinecones. They should also look for berries, interesting leaves, and anything made by nature that has fallen to the ground naturally to minimize disturbing it.
Don't forget to try to identify your natural materials using a tree ID app.
You'll also need evergreen trimmings. You can get this from your garden or a gardening center. For the trimmings we used in this project, the landscaper in a nearby complex had piled up a bunch of trimmings that we were told we could take. Try to select green trimmings that are soft and that can be broken down into various sizes. Smaller pieces are very handy for filling in bare spaces.
Now that you have your materials, it's time to get started!
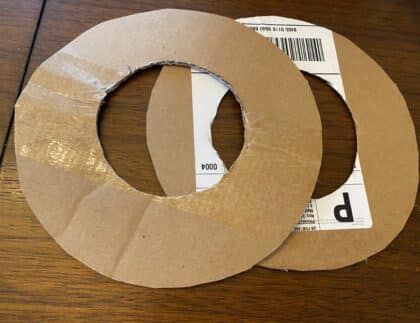
Step 2. Cut the cardboard
You'll want to cut out a donut shape for your wreath with a hole in the center. Decide which size you prefer. Cut the cardboard yourself. It can take some hand strength.
Step 3: Design the wreath
This is a fun part of the activity for your child. Ask your child to make the design with pinecones and other natural materials.
 Step 4: Glue on pinecones
If you have a child-size glue gun, your child should be able to use it to glue on the pinecones but monitor this closely as burns can happen! To be safe, you can apply the glue.
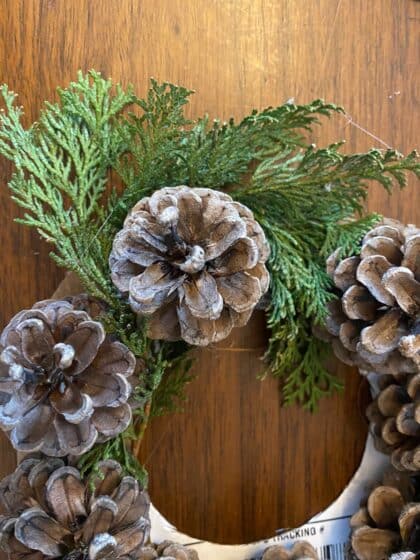 Step 5: Fit trimmings around pinecones
This is another fun step for your child. Ask them to fit the glued material on the cardboard. You can use a toothpick instead of a finger to secure the trimmings on the cardboard.
Step 6: Fill in
Use smaller pieces of trimmings to fill in bare spaces.
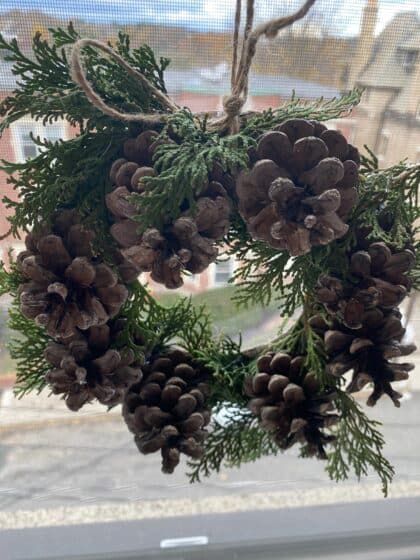 Step 7: Attach twine or ribbon
Cut a 12 -inch length of ribbon or twine and attach it to the top of the wreath, making a loop to hang your wreath at whatever length you prefer.
Step 8: Admire your wreath and hang it!