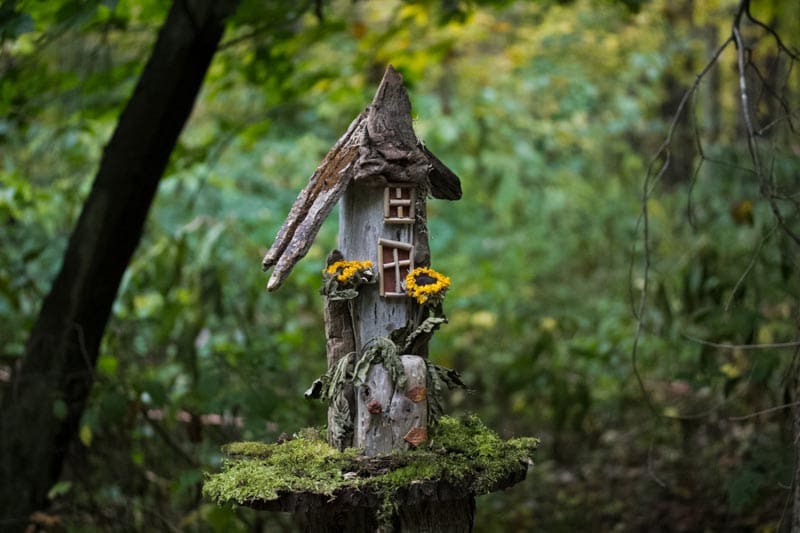
“If I had influence with the good fairy who is supposed to preside over the christening of all children, I should ask that her gift to each child in the world be a sense of wonder so indestructible that it would last throughout life, as an unfailing antidote against the boredom and disenchantment of later year…the alienation from the sources of our strength.”
― Rachel Carson, The Sense of Wonder
What could be more enchanting than a fairy house tucked away in the corner of a garden? Or in the nook of a tree? They’re adorable. They’re magical. And building them is a creative way for a child to spend (endless) time outdoors.
Early education expert David Sobel says that children build fairy houses and forts to create private worlds and explore their own senses of self. Just think about how exciting it was to create your own private world outside, away from adults, when you were a child.
To help your child discover how enticing time outside can be, help them create their own custom-designed fairy house or village. Building one is so easy! Follow these easy steps below with your child or come up with your own plan together. For some inspiration, browse images of fairy houses on Instagram. Note that some of these are elaborate but beautiful structures. You and your child can keep your fairy house simple. The fairies will surely be appreciative either way!
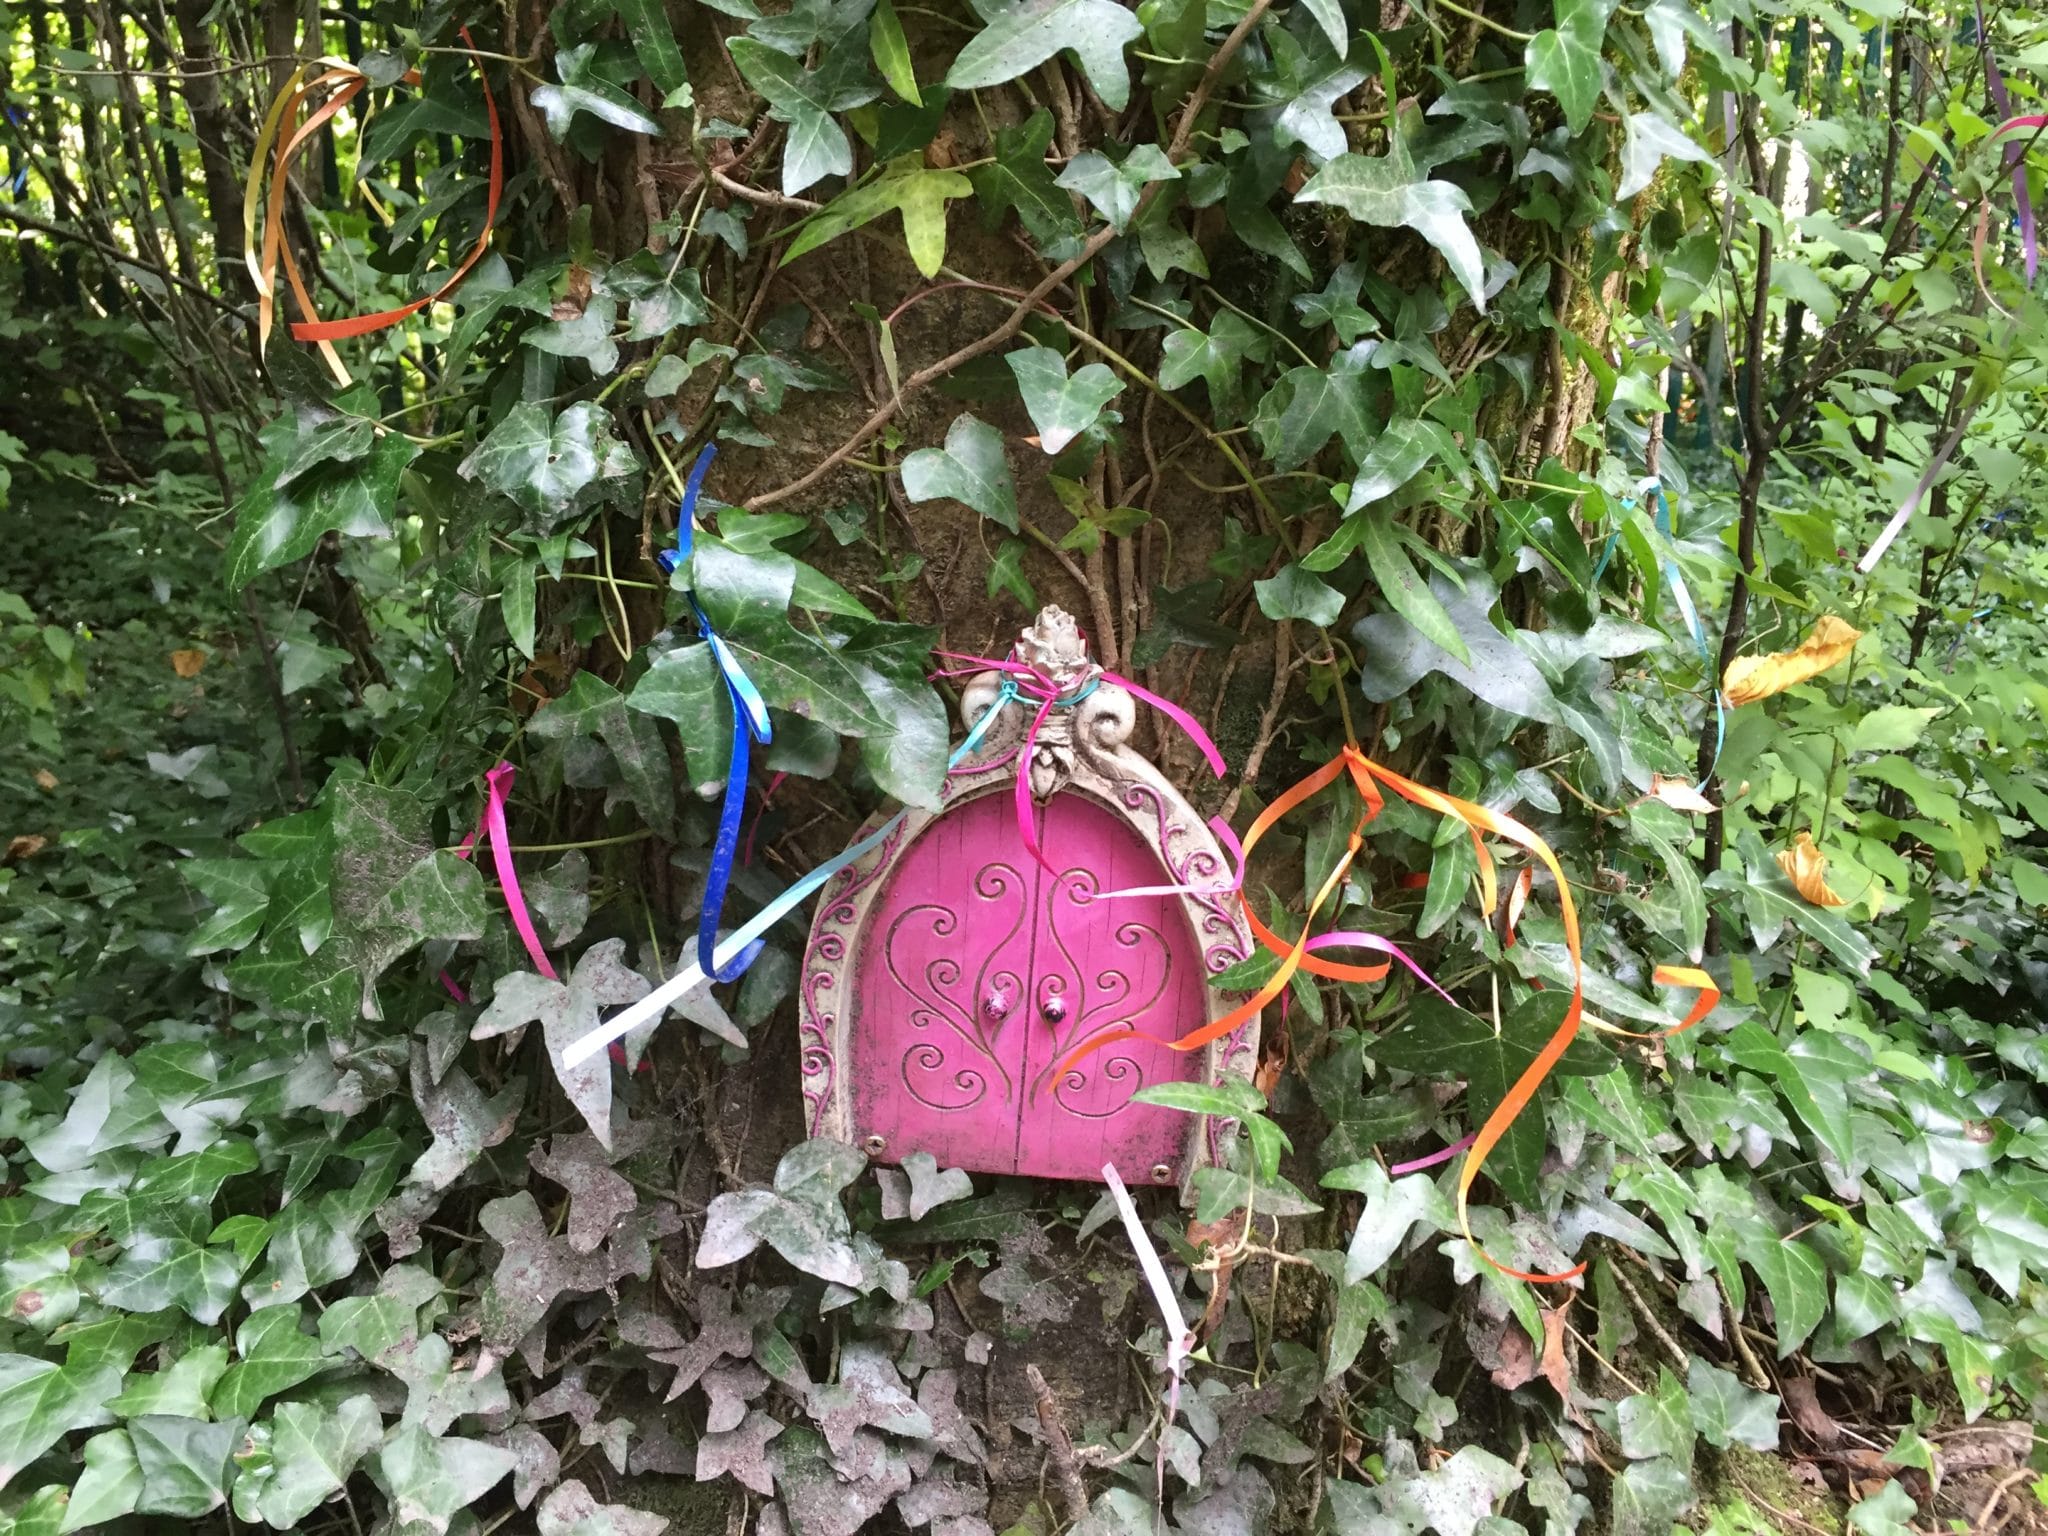
Step 1: Find the location
Your child can build their fairy house in their backyard, garden or else, a local park or wooded area. Whatever the location, help your child look for a quiet place away from roads or busy pathways. Some great spots to consider are shallow valleys made by roots at the base of a tree, in the trunk of a tree or in branches of a tree or bush. A flat surface usually works best to balance the house.
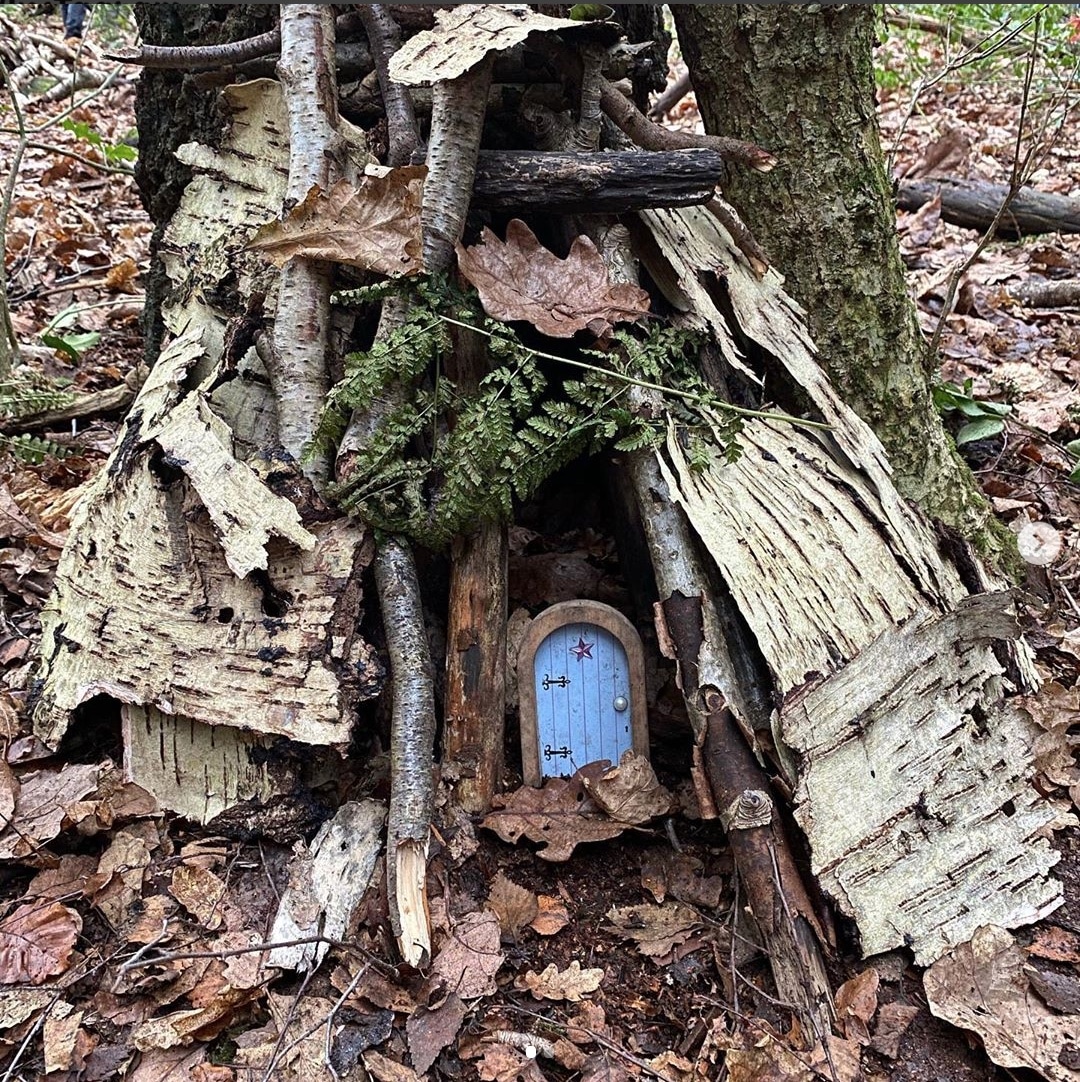
Step 2: Gather materials
Some fairy house builders will incorporate ribbons, buttons or paint. But our recommendation is to keep it natural. You never know what wild critter will be intrigued by your fairy house and manmade materials could potentially be dangerous to them. Ask your child to go out on a scavenging mission to gather building materials: sticks for lincoln-log like walls, bark for covering sidewalls and roofs, acorns for decor, dry grasses for coverage, pebbles for pathways, feathers, pinecones and other natural materials they find. Tell them to try not to disturb plants that are still living, such as ferns, mosses and flowers.
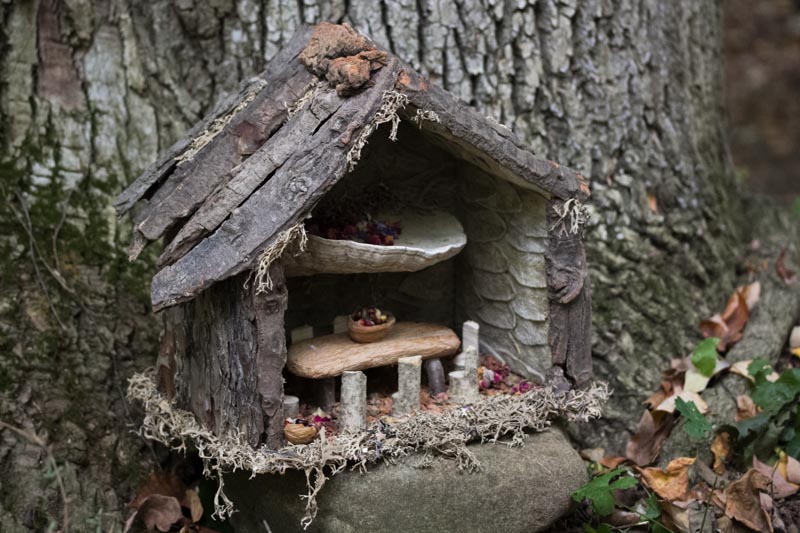
Step 3: Build the fairy house
Just like fairies, fairy houses come in all shapes and sizes. They can look like hobbit houses, castles, cottages, be short, tall, simple, ornate, round or angular. Your child can use their imagination while working with the confines of the materials and space to design their house.
We like to start our build with a flat base such as a piece of bark from a tree. The next step is to stack twigs up like Lincoln logs. To do this, your child would lay two twigs down parallel to each other, then lay two different twigs on top of the first two so that they cross them. They should keep on stacking until the walls are as high as they want them to be.
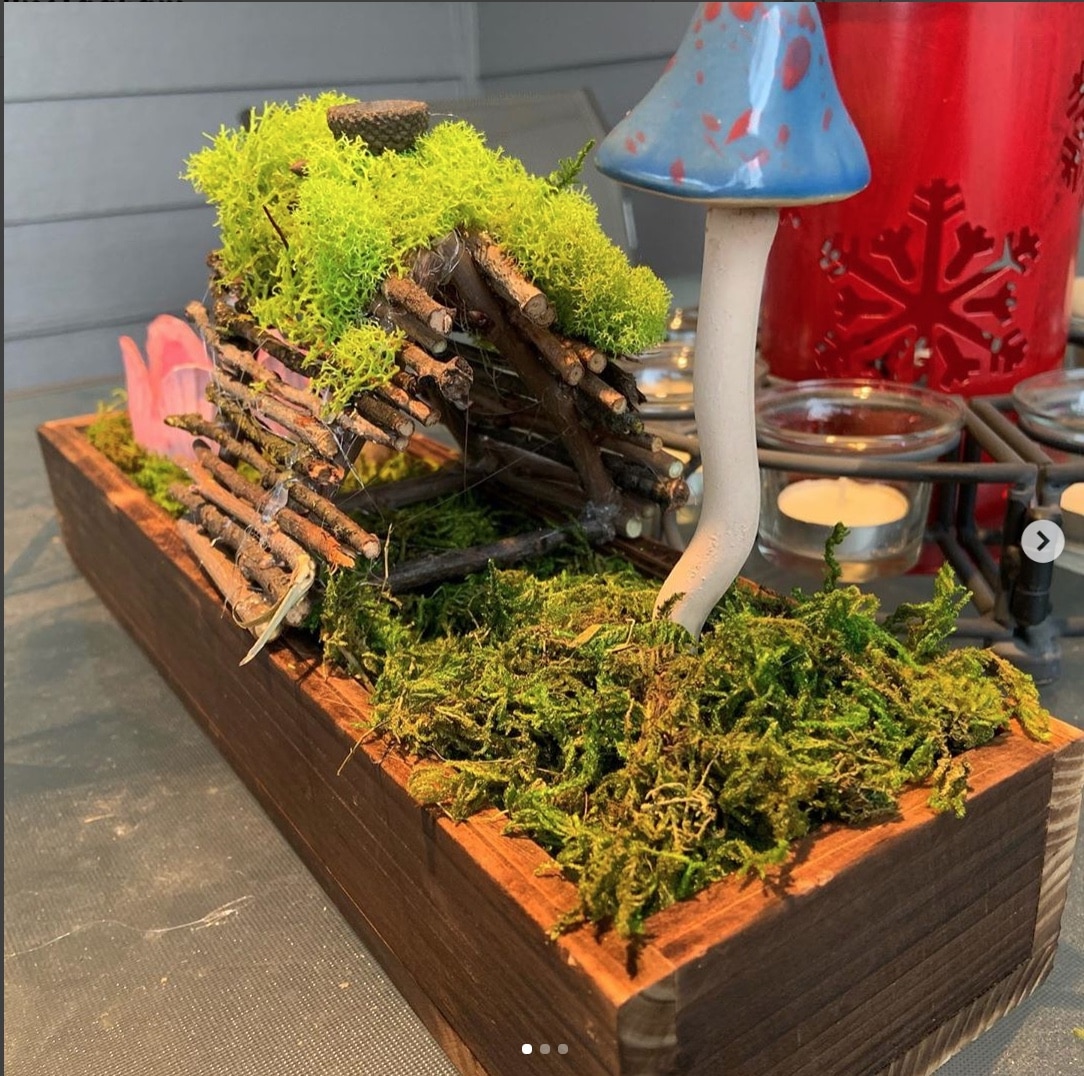
If your child prefers to make a sturdier structure, you could help your child glue the twigs together with a glue gun to make walls for an A-frame or four walls of a traditional cottage. You could also help your child secure together slabs of bark to form walls and roof for your house. If you have the right pieces, you might not even need glue. Some natural vine or dry grass might be enough to secure the walls together.
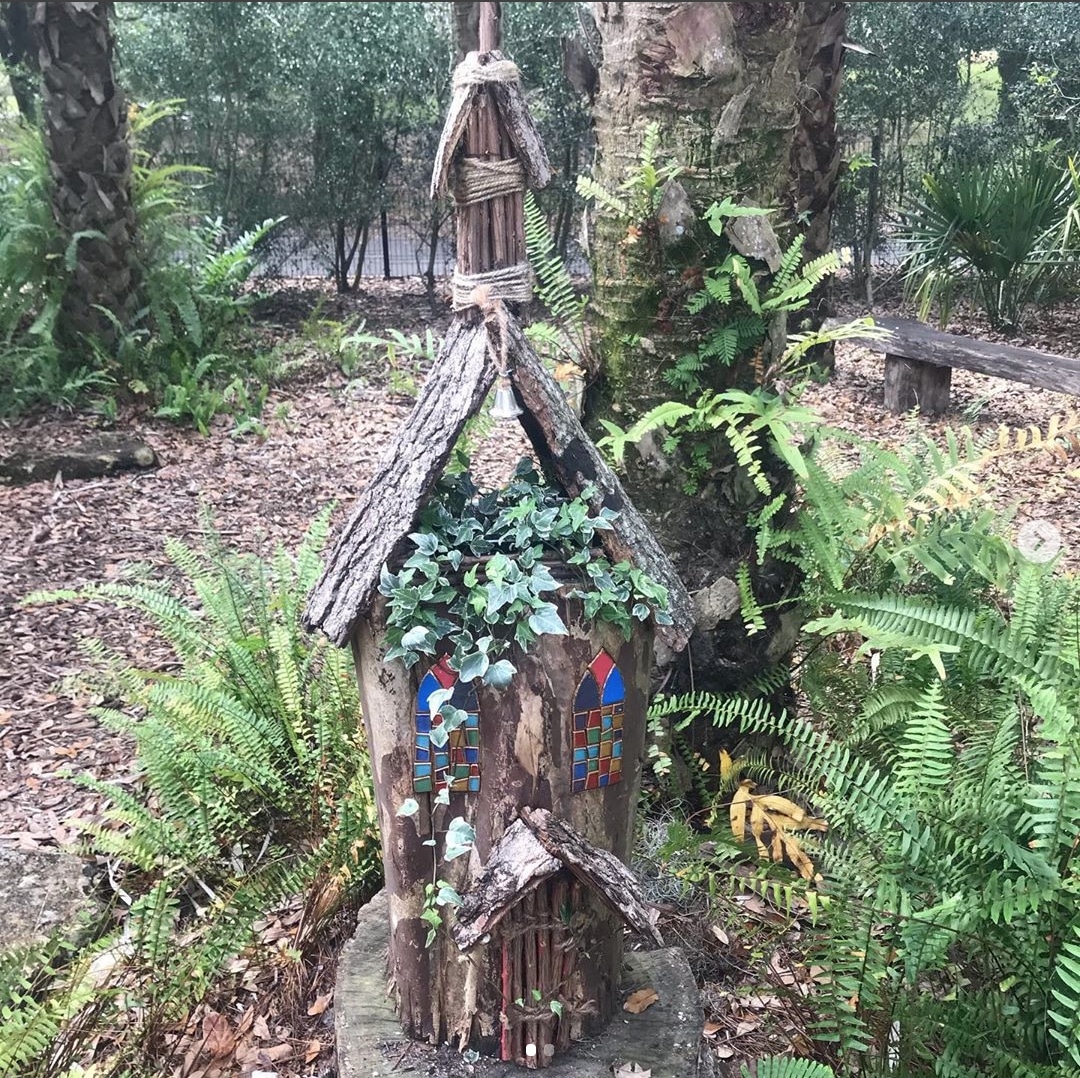
Now add the roof using bark, twigs or other natural material. Your child could add some moss to the top or else very thin twigs or vine woven together as well.
Step 4: Decorate the fairy house
Your child can get creative with decor, adding leaves, moss or other natural objects. They can landscape their fairy house by laying down moss that looks like grass, pressing pebbles into the dirt leading up to the doorway to make a path of stepping-stones.
Don’t forget about the interior! Fairies will appreciate a well-appointed house! Acorn tops and flowers make beautiful food bowls and decorations. Sands, leaves, or moss make for great floor coverings. Small, dry twigs can be used for furniture.
Now enjoy watching your child spend hours being delighted by this simple and sweet nature craft. Remember to keep returning with your child to check for fairy activity.
Photo credit for top photo: Steven Depolo on Flickr
Book Recommendation
Want to read more about why kids need to build more fairy houses? Take a look at David Sobel's, Children's Special Places: Exploring the Role of Forts, Dens, and Bush Houses in Middle Childhood (Landscapes of Childhood Series)


