Building a snow fort or a snow cave is one of those winter outdoor activities that kids will remember throughout their lives. It provides hours of activity time, is physically demanding, can teach your child a thing or two about physics as well as think about what it’s like to live outside for many critters— and it's just plain fun.
Snow forts are fun snow constructions with open tops that are awesome for shielding during a snowball fight. Whereas a snow cave is a snow shelter you can make, also called a quinzhee. A super fun reason to build a quinzhee or snow cave is that it helps to keep us warm. Just like mammals who dig dens in the snow to survive the winter, a snow cave is a warmer shelter for us. Snow, especially fresh snow, can act as an insulator as air is trapped between the snow crystals. This air ends up insulating the space underneath it like in the subnivean zone. Here is an excellent resource for learning how to build a sage quinzhee with your child. Snow forts do not have roofs so they don’t insulate but they can protect from the wind.
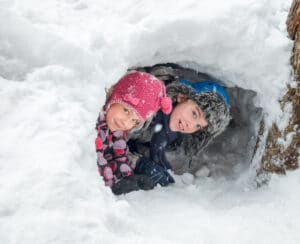
If you build a snow cave, you can do an experiment to learn if it is warmer inside the cave. You can test the temperature of the air inside the cave and outside with a thermometer. Let the thermometer sit on top of the snow cave for 10 minutes. Then, let it sit in the snow cave, placing the thermometer on the floor of the cave next to you for 10 minutes, then read the temperature. Which temperature was higher?
Regardless of your child’s age, you may want to work on this project together. And though we value independent play, keep in mind that forts and caves are not free of dangers. The UK’s The Globe And Mail reports that children lose their lives every single year and that at least one child dies each year from being suffocated by a snow fort that was not built correctly. Dr. Lynne Warda, chairwoman of the injury prevention committee at the Canadian Paediatric Society told the Globe and Mail, "Every year there are cases of children dying in snow forts, either suffocating or being the victim of a snowplow accident." It’s not just young children who are at risk. The children who are most harmed by snow forts are usually school-age, old enough to play outside by themselves. Kids who suffocate in the snow are also often playing by themselves when they become trapped in a snow structure.
If action is where your child’s heart is, go for a snow fort. If you’ve never built one, here are some tips that we borrowed from the fun classic, The American Boys Handy Book. Also, you can read additional excellent building tips here.
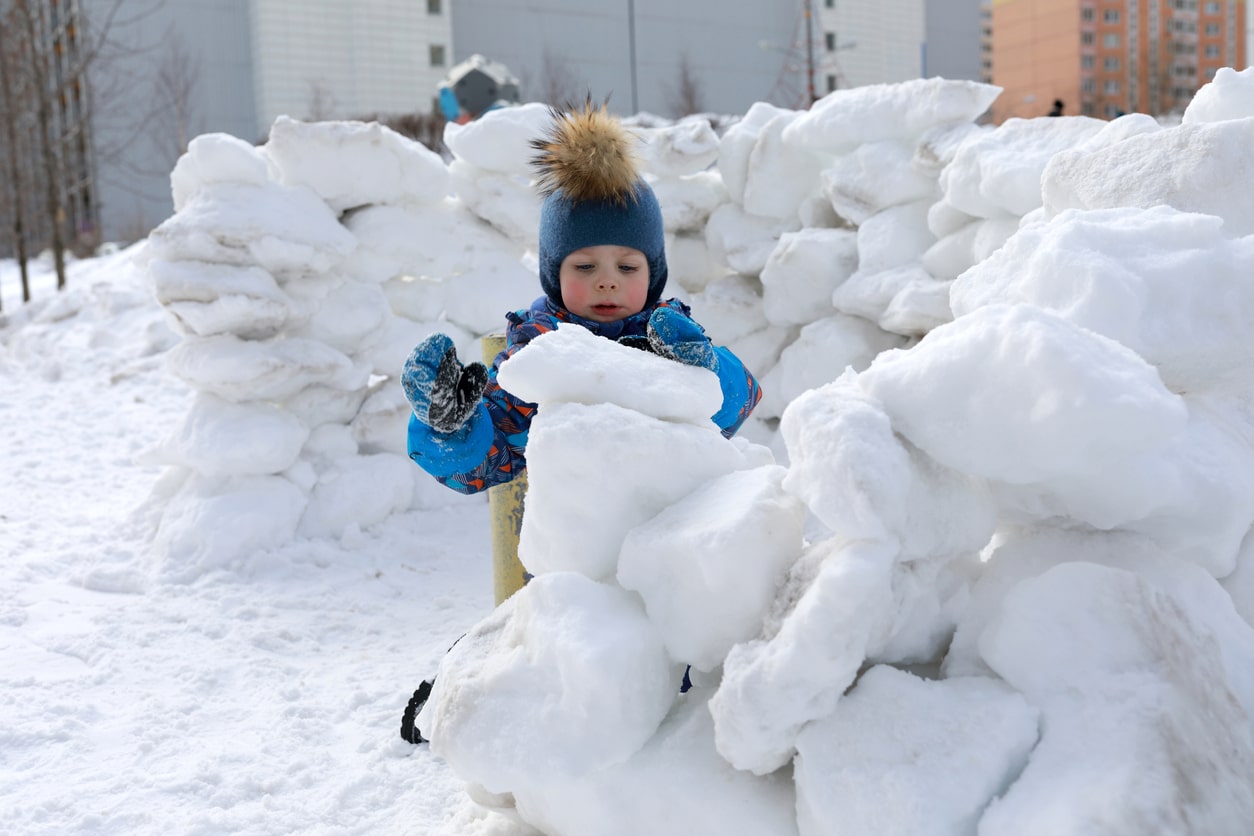
 Step 1. Your first step is to trace out the fort’s perimeter in the snow using a stick, shovel or your feet. Make the perimeter large enough to protect your team along with an arsenal of snowballs. Look around and assess your materials (snow). If you don't have a lot of snow to work with, limit your construction to fewer than four walls. Having something to crouch behind is better than being entirely exposed.
Step 2. Make your bricks. Use buckets, coolers, recycled milk cartons, anything that you can find that you can use to fill with snow to make bricks. If you have a choice, select snow that is good, moist packing snow.
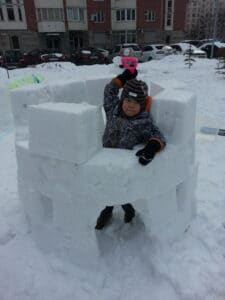
Step 3. Just like in Game of Thrones, you must build the wall. Start laying the bricks down. Think like a bricklayer, spacing bricks a few inches apart, then stacking the next layer with a brick straddling two bricks below. A four-foot wall is an ideal height but use your own judgment and consider your child’s size.
Step 4. Mind the gaps. Once you’ve finished stacking all the snow bricks, fill in the gaps with some well-packed snow otherwise, you run the risk of the structure collapsing.. You should have a solid snow wall when finished.
Step 5. Flatten the walls. After you’ve filled in the gaps, smooth and sculpt the walls of the fort with additional snow, using the smooth side of a snow shovel. Think pyramid shape for durability.
Step 6. Give it a coating of ice. The finishing touch for any snow fort is a coat of ice. Dump some buckets of (cold) water over the walls, inside and out, being sure to work from the bottom up so the weight of the ice doesn't cause a collapse. The water will help ice things up and turn your snow wall into an ice wall.
As always, remember to let your child's creativity come through when building their snow cave or fort. And, above all, have fun!